No Knead Dutch Oven Bread
Highlighted under: Sweet Oven Magic
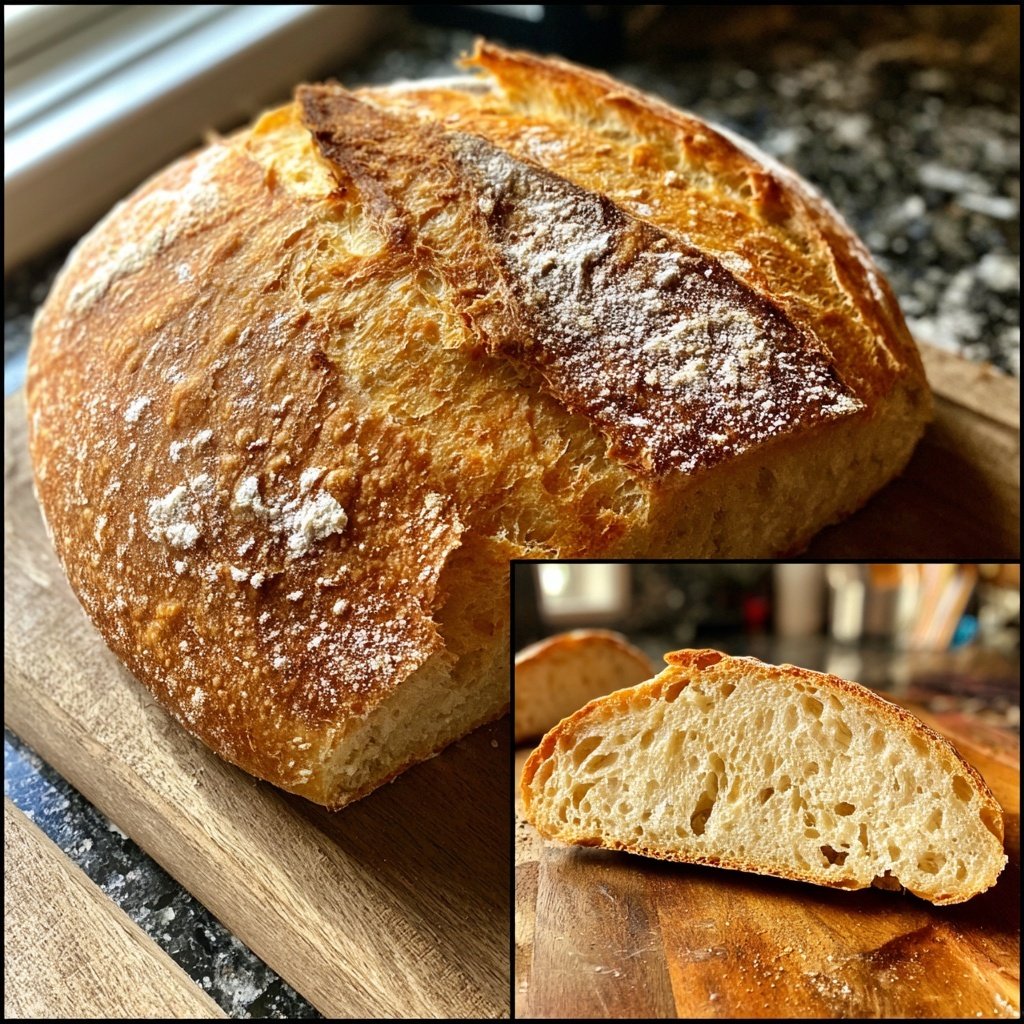
I absolutely love baking, and this No Knead Dutch Oven Bread has become a staple in my kitchen. The best part? It requires minimal effort while yielding a crusty exterior and a soft, chewy center. I remember the first time I pulled this beautiful loaf from the oven; the aroma filled my home and made my mouth water. With just four simple ingredients and a little patience, you can enjoy fresh, homemade bread that’s perfect for any meal or as a delightful snack on its own.
Baking this No Knead Dutch Oven Bread has truly transformed the way I approach bread-making. The first time I tried it, I was surprised by how little hands-on time it required. I mixed the ingredients, let the dough rest overnight, and it was ready to bake my way to bakery-quality bread without any kneading. The wild yeast that develops during the long fermentation is key to achieving that incredible flavor and texture.
One crucial tip that I've discovered is to ensure your Dutch oven is preheated before adding the dough. This creates steam, which is essential for developing that beautiful crust we all crave. Each time I make this bread, it's a delightful reminder that sometimes the simplest methods yield the most delicious results.
Why You'll Love This Recipe
- Easy, no-knead technique that's perfect for beginners
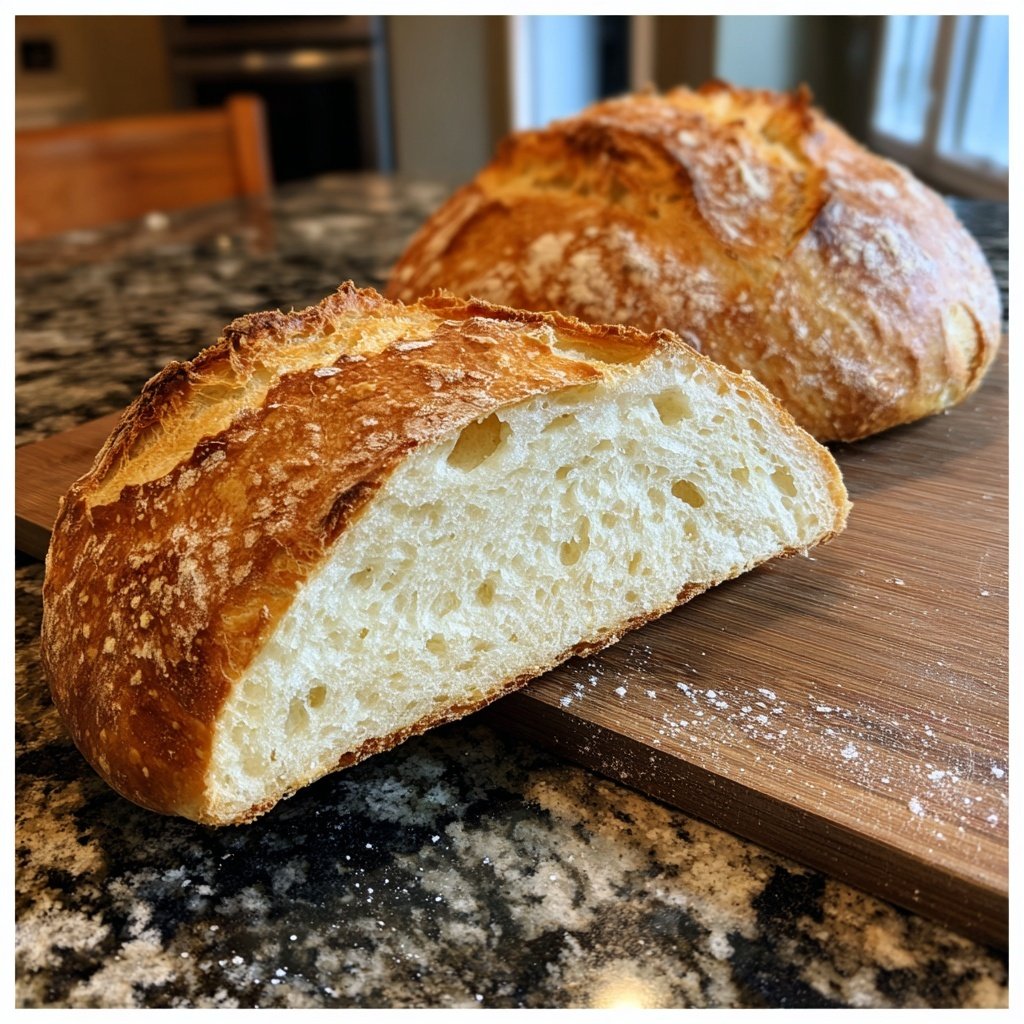
- Crispy crust with a soft, airy interior
- Great for sandwiches, toasts, or simply enjoying with butter
- Minimal ingredients that yield maximum flavor
Understanding the Ingredients
Each ingredient in this No Knead Dutch Oven Bread plays a crucial role in achieving the perfect loaf. All-purpose flour is the backbone, providing the necessary gluten structure, while the instant yeast ensures a reliable rise without the need for kneading. Salt not only enhances the flavor but also strengthens the dough's structure, allowing the bread to develop that desirable chewy texture.
Water is the magic ingredient that brings everything together. The amount you use influences the hydration level of the dough, impacting its texture. If you prefer a slightly denser bread, feel free to adjust the water slightly down, but keep in mind that wetter dough usually results in a lighter, airier crumb.
Perfecting Your Technique
Letting the dough rise for 12-18 hours is key to developing flavor and structure. Keep an eye on it; you want the surface to become covered in bubbles, which indicates fermentation is happening. If you're short on time, a minimum of 8 hours will still yield decent bread, but for the best flavor, longer is better. A warm kitchen can speed this process up, so consider placing it near a warm spot in your home.
When shaping the dough, don’t over-manicure it. A gentle hand is best; forming a rough ball rather than working it too much is ideal for maintaining the airy structure you want in the final product. Letting it rest for just 15 minutes after shaping allows the gluten to relax, making it easier to place in the hot Dutch oven without deflating.
Storing and Serving Ideas
Once your bread is out of the oven, it's tempting to dive right in, but patience is a virtue! Allowing the loaf to cool completely on a wire rack helps set the texture. If you're planning to save some for later, it can be stored at room temperature in a paper bag for up to 3 days. For longer storage, slice it and freeze it in an airtight container for up to 3 months; just toast the slices straight from the freezer as needed.
This bread is incredibly versatile! Serve it alongside soups, stews, or salads. It makes fantastic sandwiches or simple toast with butter and jam. For a twist, consider adding herbs or cheese to the dough for added flavor, or serve it as a base for bruschetta with fresh toppings for a delightful appetizer.
Ingredients
For the Bread
- 3 cups all-purpose flour
- 1/4 teaspoon instant yeast
- 1 1/4 teaspoons salt
- 1 1/2 cups water
Mix well and let it sit!
Instructions
Combine Dry Ingredients
In a large bowl, mix the flour, yeast, and salt until well combined.
Add Water
Pour in the water and stir until a shaggy dough forms. It will be sticky and rough.
Let It Rise
Cover the bowl with plastic wrap and let the dough rise at room temperature for 12-18 hours, until the surface is dotted with bubbles.
Shape the Dough
Turn the dough out onto a floured surface and shape it into a rough ball. Let it rest for 15 minutes.
Preheat the Oven
About 30 minutes before baking, place your Dutch oven (with the lid) in the oven and preheat to 450°F (230°C).
Bake the Bread
Carefully remove the hot Dutch oven, and place the dough inside. Cover with the lid and bake for 30 minutes, then remove the lid and bake for an additional 15 minutes until golden brown.
Cool and Enjoy
Transfer the bread to a wire rack and allow it to cool before slicing. Enjoy with butter or your favorite toppings!
Slice and enjoy your freshly baked bread!
Pro Tips
- For best results, use a kitchen scale to measure ingredients accurately and experiment with different flour types for varied flavors.
Troubleshooting Common Issues
If your bread fails to rise, ensure that your yeast is fresh. Old yeast can dramatically affect the outcome. Additionally, rising in a cool spot can hinder the fermentation process. If your dough is too sticky when shaping, lightly dust your hands and the work surface with flour to help manage it without altering the dough's hydration level.
If you notice that your bread has a pale crust, it may not have baked long enough or at a high enough temperature. Always make sure your oven is fully preheated to 450°F (230°C) before placing the Dutch oven inside. A well-heated oven ensures a good crust. If your bread browns too quickly, you may need to adjust the baking time or cover it with foil during the last minutes.
Scaling the Recipe
This recipe is easily scalable; if you need more than one loaf, simply multiply the ingredient amounts. Just keep in mind that the rising time may vary slightly based on the batch size. Use a larger bowl to accommodate the increased volume of dough, and you may even need a second Dutch oven if baking more than two loaves at once.
For small households or individuals, the recipe can be halved without issue. This adjustment keeps the baking time about the same while giving you one lovely loaf to enjoy. Remember, the key to a successful bread remains the same: patience and a watchful eye on the rising dough.
Questions About Recipes
→ Can I use whole wheat flour?
Yes, you can substitute up to 50% with whole wheat flour for a nuttier flavor and added nutrition.
→ Does the dough need to rise in a warm place?
No, it can rise at room temperature, which is perfect for allowing the flavors to develop over time.
→ How long does the bread stay fresh?
It’s best enjoyed within 2-3 days but can be frozen for up to 3 months if wrapped properly.
→ What if I don’t have a Dutch oven?
You can use any oven-safe pot with a lid, but make sure it can withstand high heat.
No Knead Dutch Oven Bread
What You'll Need
For the Bread
- 3 cups all-purpose flour
- 1/4 teaspoon instant yeast
- 1 1/4 teaspoons salt
- 1 1/2 cups water
How-To Steps
In a large bowl, mix the flour, yeast, and salt until well combined.
Pour in the water and stir until a shaggy dough forms. It will be sticky and rough.
Cover the bowl with plastic wrap and let the dough rise at room temperature for 12-18 hours, until the surface is dotted with bubbles.
Turn the dough out onto a floured surface and shape it into a rough ball. Let it rest for 15 minutes.
About 30 minutes before baking, place your Dutch oven (with the lid) in the oven and preheat to 450°F (230°C).
Carefully remove the hot Dutch oven, and place the dough inside. Cover with the lid and bake for 30 minutes, then remove the lid and bake for an additional 15 minutes until golden brown.
Transfer the bread to a wire rack and allow it to cool before slicing. Enjoy with butter or your favorite toppings!
Extra Tips
- For best results, use a kitchen scale to measure ingredients accurately and experiment with different flour types for varied flavors.
Nutritional Breakdown (Per Serving)
- Calories: 180 kcal
- Total Fat: 0.5g
- Saturated Fat: 0g
- Cholesterol: 0mg
- Sodium: 350mg
- Total Carbohydrates: 38g
- Dietary Fiber: 1g
- Sugars: 0g
- Protein: 5g