Homemade Marshmallows
Highlighted under: Sweet Oven Magic
Indulge in the fluffy and sweet delight of homemade marshmallows, perfect for hot chocolate or s'mores.
Making marshmallows at home is not only fun but also incredibly rewarding. Once you try these fluffy treats, you'll never want to go back to store-bought!
Why You Will Love This Recipe
- Fluffy texture that melts in your mouth
- Customizable flavors to suit your taste
- Perfect for roasting over a campfire or as a sweet snack
The Joy of Homemade Marshmallows
Making homemade marshmallows is not just about creating a delicious treat; it’s an experience filled with joy and creativity. The process allows you to witness the transformation of simple ingredients into fluffy, airy confections. As you whip the mixture, you can see it grow in volume, becoming light and frothy. This visual change is incredibly satisfying and makes the effort worthwhile. Plus, you have complete control over the flavor and texture, ensuring each batch is uniquely yours.
Another delightful aspect of crafting your own marshmallows is the endless customization possibilities. You can experiment with various flavor extracts, such as almond, peppermint, or even citrus for a zesty twist. Adding color is also a fun way to make your marshmallows visually appealing. Whether you’re throwing a party or just want to brighten up your afternoon, these personalized marshmallows will surely impress your family and friends.
Perfect Pairings
Homemade marshmallows are a versatile treat that pairs beautifully with many dishes. One of the most popular ways to enjoy them is with hot chocolate. The fluffy texture of the marshmallows melts into the warm drink, creating a creamy, sweet experience that's perfect for chilly evenings. Just imagine sipping a steaming cup of cocoa topped with a generous layer of these delightful marshmallows—pure bliss!
They also make a fantastic addition to s'mores. Roasting your homemade marshmallows over an open flame adds a smoky depth that store-bought marshmallows simply can’t match. The gooey, melted marshmallow sandwiched between two graham crackers and a piece of chocolate creates a mouthwatering treat that’s hard to resist. Whether you’re camping or having a backyard barbecue, these marshmallows elevate your s'mores game to new heights.
Storage and Shelf Life
Once you’ve made your homemade marshmallows, proper storage is essential to maintain their fluffy texture and flavor. Store them in an airtight container at room temperature. This will keep them fresh for up to three weeks. If you live in a particularly humid environment, consider adding a desiccant packet to help absorb moisture and prevent the marshmallows from becoming sticky.
If you want to enjoy your marshmallows for an extended period, you can freeze them. Simply place the marshmallows in a single layer in a freezer-safe bag, ensuring they don’t stick together. They can last up to three months in the freezer. When you’re ready to use them, let them thaw at room temperature—no need to worry about losing their fluffy goodness!
Ingredients
Marshmallow Ingredients
- 2 cups granulated sugar
- 2/3 cup light corn syrup
- 1/4 teaspoon salt
- 1 cup water, divided
- 2 tablespoons unflavored gelatin
- 1 tablespoon vanilla extract
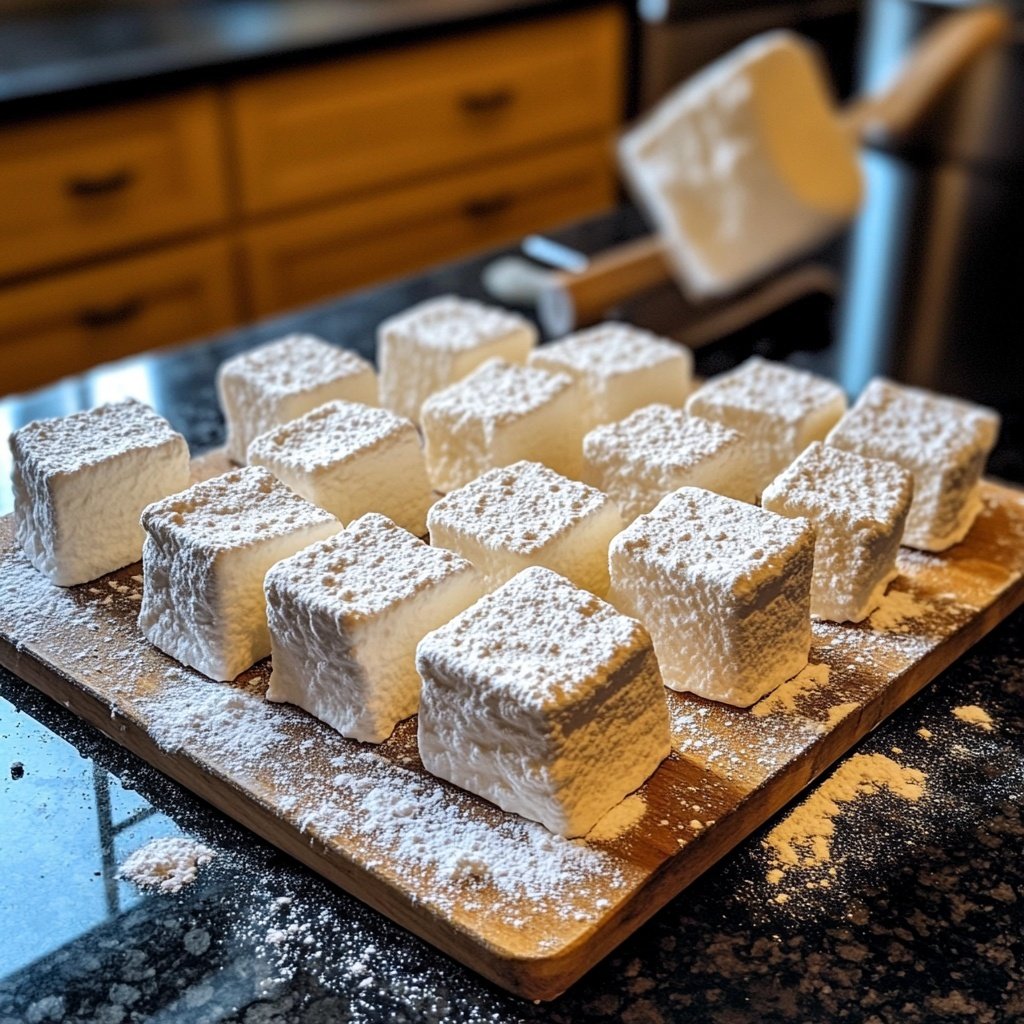
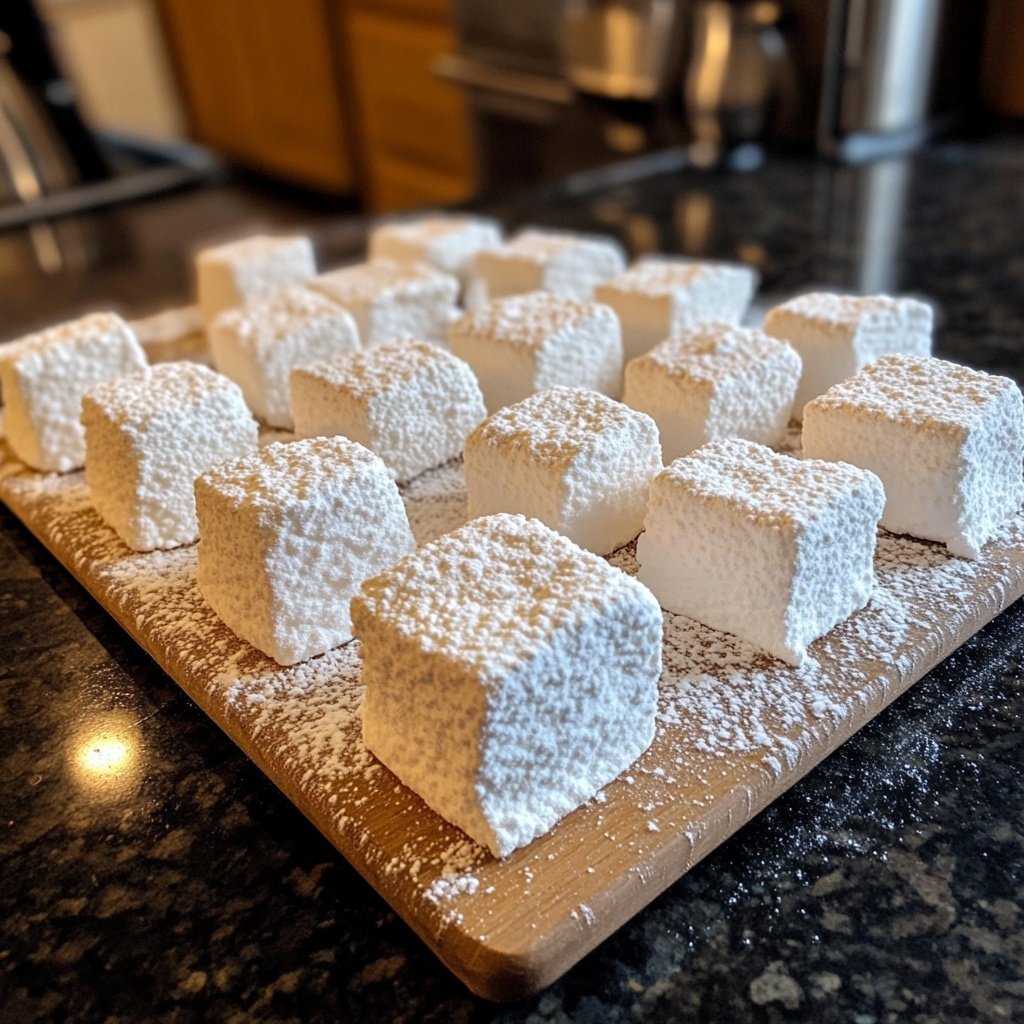
- Powdered sugar for dusting
Make sure to have all your ingredients ready before you start!
Instructions
Prepare the Gelatin
In a small bowl, sprinkle gelatin over 1/2 cup of cold water and let it sit for about 5 minutes to bloom.
Cook the Sugar Mixture
In a saucepan, combine sugar, corn syrup, salt, and the remaining 1/2 cup water. Cook over medium heat, stirring until sugar dissolves. Increase heat and boil without stirring until the mixture reaches 240°F (115°C).
Combine Mixtures
Once the sugar mixture reaches the desired temperature, remove from heat. Add the bloomed gelatin and vanilla extract, stirring until fully dissolved.
Whip the Mixture
Transfer the mixture to a mixing bowl and whip on high speed until thick and fluffy, about 10 minutes.
Set the Marshmallows
Pour the mixture into a greased 9x13 inch pan, smoothing the top. Dust with powdered sugar and let sit for at least 4 hours or until set.
Cut and Serve
Once set, dust the top with more powdered sugar, cut into squares, and enjoy!
Store any leftovers in an airtight container.
Pro Tips
For flavored marshmallows, consider adding extracts or food coloring during the whipping stage.
Marshmallow Variations
One of the best things about making marshmallows at home is the ability to experiment with different flavors and add-ins. Spices like cinnamon or cocoa powder can be mixed into the sugar mixture for a cozy flavor profile. For a fruity twist, try adding pureed fruit or fruit juice to give your marshmallows a burst of natural sweetness and color.
You can also incorporate various toppings for added texture and flavor. Roll your marshmallows in crushed nuts, sprinkles, or even toasted coconut for an extra crunch. These variations not only enhance the flavor but also make your marshmallows visually stunning, perfect for gifting or sharing at gatherings.
Common Mistakes to Avoid
While making marshmallows might seem simple, there are a few common pitfalls to watch out for. One major mistake is not allowing the gelatin to bloom properly. This step is crucial for achieving the right texture, so take your time and let it sit until fully hydrated. Skipping this can lead to dense, chewy marshmallows instead of the light, fluffy ones you desire.
Another common issue is not reaching the correct temperature when cooking the sugar mixture. Using a candy thermometer is highly recommended to ensure accuracy. If the mixture is undercooked, your marshmallows will be sticky and won't hold their shape. On the other hand, overcooking can lead to a tough texture. Pay close attention to the temperature for perfect results every time.
Questions About Recipes
→ Can I use flavored gelatin?
Yes, you can use flavored gelatin to create colored and flavored marshmallows.
→ How long do homemade marshmallows last?
Homemade marshmallows can last up to 2-3 weeks if stored in an airtight container.
→ Can I toast these marshmallows?
Absolutely! Homemade marshmallows toast beautifully over a campfire or open flame.
→ What can I use instead of corn syrup?
You can substitute corn syrup with honey or agave syrup, but the texture may vary slightly.
Homemade Marshmallows
Created by: Lila Morgan
Recipe Type: Sweet Oven Magic
Skill Level: Intermediate
Final Quantity: 12 servings
What You'll Need
Marshmallow Ingredients
- 2 cups granulated sugar
- 2/3 cup light corn syrup
- 1/4 teaspoon salt
- 1 cup water, divided
- 2 tablespoons unflavored gelatin
- 1 tablespoon vanilla extract
- Powdered sugar for dusting
How-To Steps
In a small bowl, sprinkle gelatin over 1/2 cup of cold water and let it sit for about 5 minutes to bloom.
In a saucepan, combine sugar, corn syrup, salt, and the remaining 1/2 cup water. Cook over medium heat, stirring until sugar dissolves. Increase heat and boil without stirring until the mixture reaches 240°F (115°C).
Once the sugar mixture reaches the desired temperature, remove from heat. Add the bloomed gelatin and vanilla extract, stirring until fully dissolved.
Transfer the mixture to a mixing bowl and whip on high speed until thick and fluffy, about 10 minutes.
Pour the mixture into a greased 9x13 inch pan, smoothing the top. Dust with powdered sugar and let sit for at least 4 hours or until set.
Once set, dust the top with more powdered sugar, cut into squares, and enjoy!
Extra Tips
For flavored marshmallows, consider adding extracts or food coloring during the whipping stage.
Nutritional Breakdown (Per Serving)
- Calories: 120 kcal
- Total Fat: 0g
- Saturated Fat: 0g
- Cholesterol: 0mg
- Sodium: 5mg
- Total Carbohydrates: 30g
- Dietary Fiber: 0g
- Sugars: 28g
- Protein: 0g